The secret of painting a wooden stair.
Last week I noticed something: in a lot of houses where I have been, the wooden stairs are not painted for at least 1 year after moving. It’s a job that many people dread. And, when you are home with your family, you use the stairs on a daily basis. The best time to paint your stairs? Just before heading for holidays. This very technical blog to help you with one of the toughest chores.
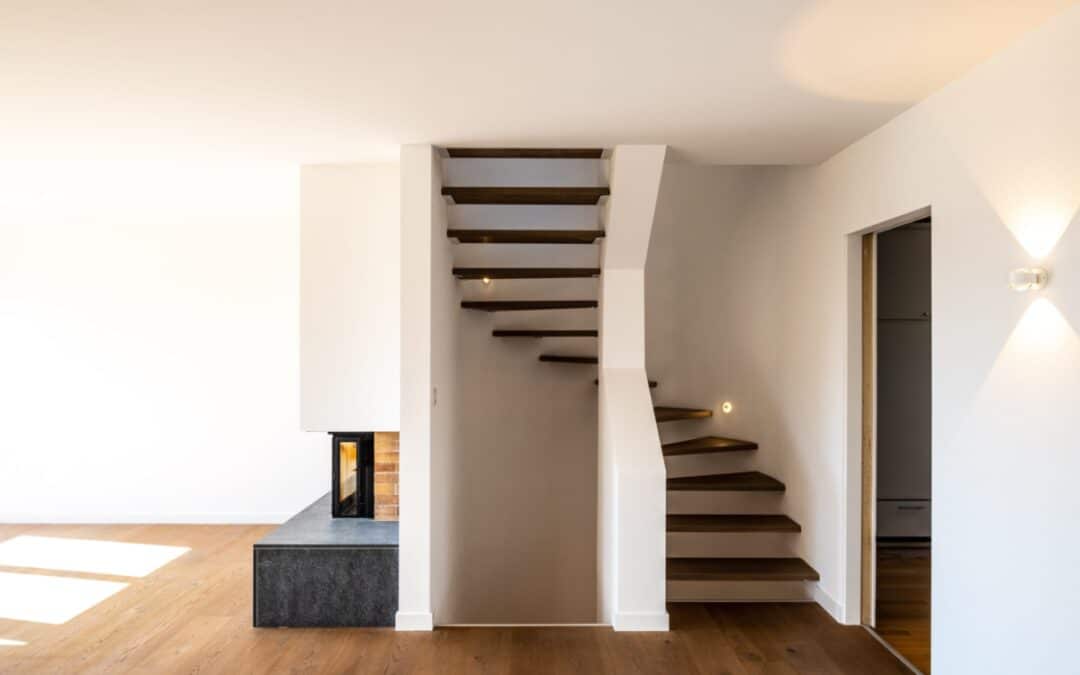
But first: I was wondering why there are so many wooden stairs in Dutch houses? And normally they are made from pinewood, one of the soft kinds of wood you can find around. I still don’t have an explanation for it, maybe you have?
My own experiences
In my life I painted a lot, as I have my certificates as a professional painter. Founding my way in life, it was not my dream to work as a painter all my life.
We picked a weekend after doubting a long time when it was the right moment to paint the two stairs in our house. At that moment it was the cheapest option for us, although we choose for quality materials. The week before, I picked a colour and ordered online the materials we needed, so we could have a quick start.
Colour picking can be an important step. If you choose the wrong colour, everything can look dirty. Or even worse: you need to clean it every day, because you will see every little detail. If you choose the right colour, it can sparkle up your hallway! We choose a beige colour. Want to have advice on the colour? Or a private paint workshop? Book your online introductory meeting, by clicking here.
Planning to paint stairs will take some thinking. We started with cleaning and sanding the day before we started painting. Being creative, we just slept one night in our living room. So the next day we just could finish it off. Normally, water based paint needs around 6 hours to dry, before you can walk on it on your socks. Sometimes people say you just need to skip every second step of the stairs, but it doubles the amount of work. So that was not our choice.
Other possibilities rather than painting a wooden stair
Of course, there are other possibilities of protecting your wooden stairs. Glueing carpet on the staircases, covering it with laminate flooring and doing nothing at all is also an option.
Paint a wooden stair in 14 steps
Painting two stairs yourself will cost around €300.00 of good quality material. Also, it cost around 25-30 hours to paint the stairs yourself. The cost of a professional painter will be around €1.600,00. If you have painted before, this would likely be a chore that you can do yourself. If you never painted before, start with something less difficult to paint, like walls, door cases etc.
Your situation can be different from ours. If you want to have a personal advice, please send a message by clicking this link.
Shopping list for 2 stairs:
In general: you can better choose the good and more expensive materials, because it is time saving and gives you a much better result. Sometimes you even need less of it.
Shopping list:
– Old cotton cloth
– A bucket
– Paint cleaner
– Sanding paper P80, P120, P180, the red or black one.
– A brush for acrylic paint. Diameter 12 or 14. You can use the same brush for the primer and the topcoat. Just clean it in between with warm water and green soap.
– 3 x Paint rollers and holder for acrylic topcoat.
– 2 x Paint trays.
– Acrylic putty
– 2 Putty knifes
– Painting tape
– 1.5 – 2 litres of water based primer in the colour of the top coat.
– 2.5 – 3 litres of water based polyurethane top coat in the colour you want. (My experience: using an anti slip coat will make your stairs safer).
Optional: Acrylic sealant with caulking gun.
For the good materials, you can click here.
Working order
Preparation phase
In this phase there is the secret of painting a wooden stair. Preparing is not as satisfying as painting, but on the other hand it helps you prevent a lot of extra work. And, the result will be much better if you reserve some extra time in this phase.
Take at least 4 – 6 hours for this phase.
Step 1:
A thorough clean with paint cleaner. It removes the grease and dirt and that prevents that with sanding the dirt will emerge to the wood.
Step 2:
Sanding. Not the nicest part, but it helps you to prevent that the paint is peeled off later. Start with sanding paper P80, then sand it again with P120 till the surface is very mat. You can use a sand machine or do it by hand. Better buy the red or grey sanding paper than the yellow one. The quality is better, and you will use less of it.
Step 3:
Remove dust.
Step 4:
Applying tape. Tape over the walls, floors and other parts that don’t need a layer of paint. Be very precise, because this will help you to get a neat result.
Primer and further preparation
This phase will cost you around 8 hours of work.
Step 5:
Apply a water-based primer, preferably in a colour which is close to the colour of the top coat. The optimum temperature is around 15 degrees Celsius. On the paint pot, it is mentioned how long you have to wait before you can walk the stairs again. Normally between 4-8 hours.
Step 6:
Sanding again. Now you can use P180 sanding paper. Be careful that you don’t damage the primer too much.
Step 7:
Apply putty. In this case, I always use water based filler. It is a very smooth past, and you can sand it quite well. Fill the cracks, holes and joints, by using the putty knifes. Let dry.
Step 8:
Sanding the dried putty. Use P180 again.
Mid-coat
This step will cost you around 4 hours of work.
Step 9:
Apply the water based mid-coat. You can use already the topcoat you bought for.
Step 10:
Sanding the mid-coat very lightly by using sanding paper P180 or even P220. It is only to remove the little dust parts and other unevenness.
Finally, applying the top coat
This step will take you around 3 hours of work.
Step 11:
Optional: You can apply the acrylic sealant now in the seams, for a very smooth end result. This is one of the secrets of painting a wooden stair by the professional painter.
Step 12:
Applying the top coat. Let dry.
Step 13:
Remove the tape
Step 14:
Cleaning up.
Conclusion
Painting a stair is a lot of work, but very satisfying. The hallway was so much more finished after the layers of paint. And we are still glad we choose an anti slip coat.
Do you want to learn to paint or just need some advice on materials and colours? View all the possibilities on this page.

Trackbacks/Pingbacks